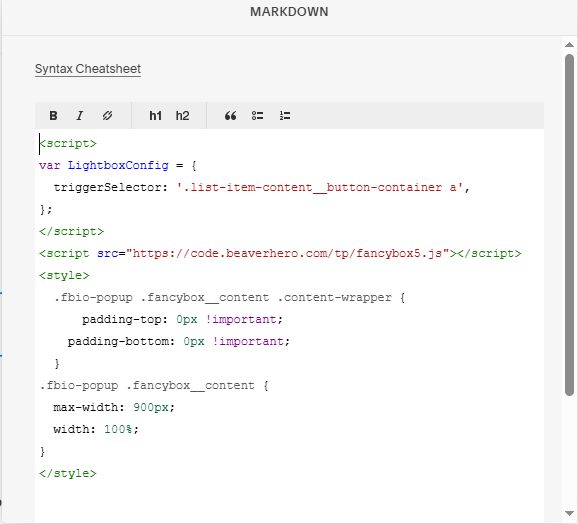
Description
- click Simple List image, open Popup
- view demo – password: abc

#A. Install Code
#1. Business Plan/higher
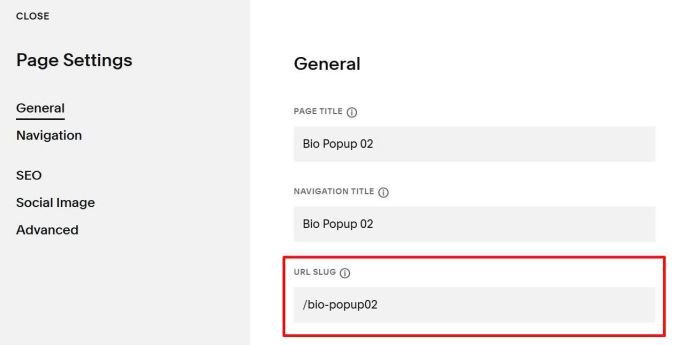
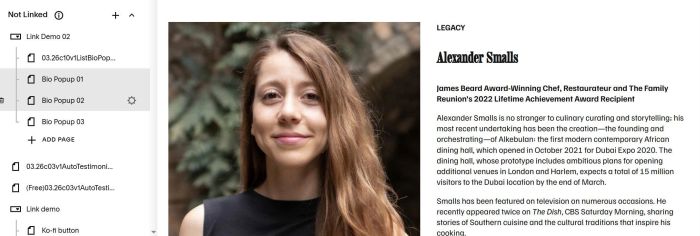
#1.1. First, you need to create some pages in Not Linked with URL like this
/bio-popup01
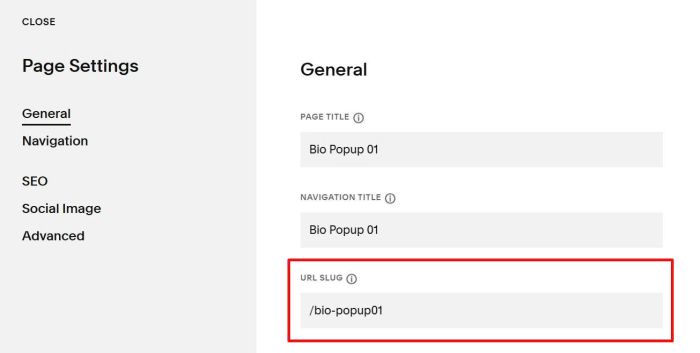
/bio-popup02
#1.2. Add desired content to your Not Linked Pages
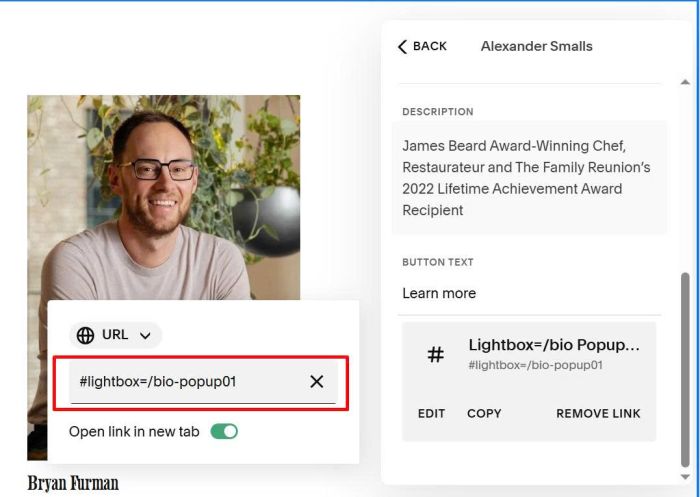
#1.3. Edit Simple List > Edit Button URL > use this format
#lightbox=/bio-popup01
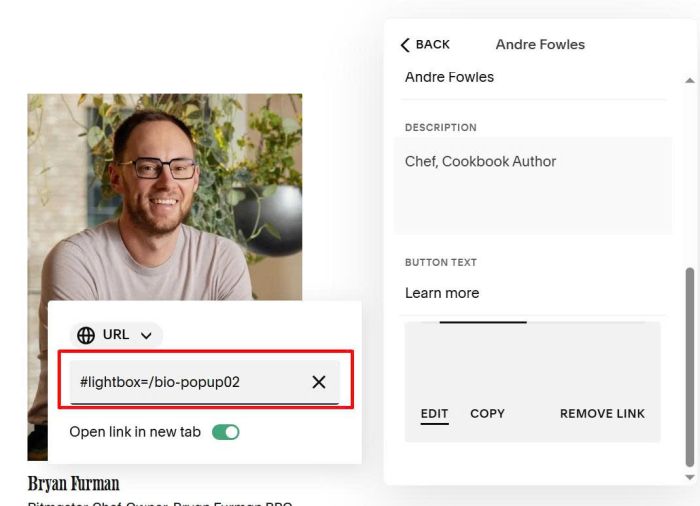
#lightbox=/bio-popup02
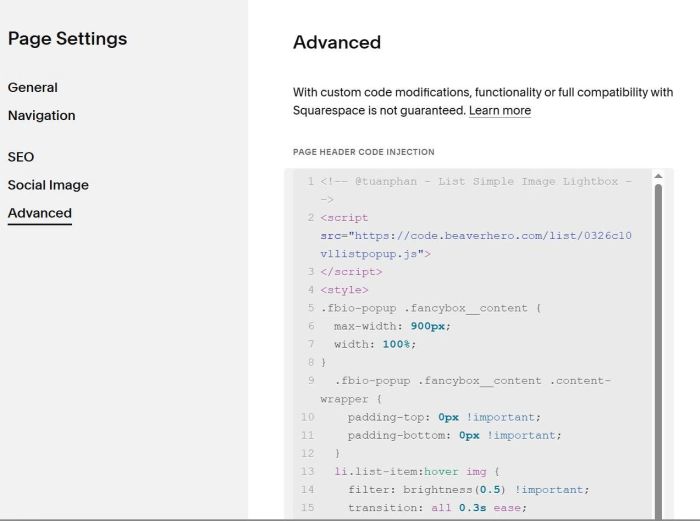
#1.4. Hover on Page where you use Simple List > Click Gear icon
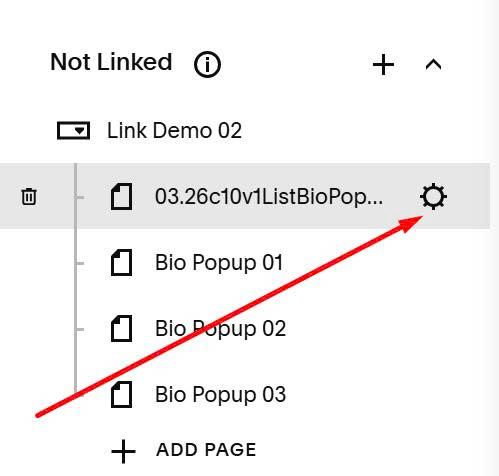
Click Advanced > Paste this code
<!-- @tuanphan - List Simple Image Lightbox -->
<script src="https://code.beaverhero.com/list/0326c10v1listpopup.js">
</script>
<style>
.fbio-popup .fancybox__content {
  max-width: 900px;
  width: 100%;
}
  .fbio-popup .fancybox__content .content-wrapper {
  	padding-top: 0px !important;
    padding-bottom: 0px !important;
  }
  li.list-item:hover img {
    filter: brightness(0.5) !important;
    transition: all 0.3s ease;
}
li.list-item img {
    transition: all 0.3s ease;
}
</style>
#2. Personal/Basic Plan
If your plan doesn’t support Injection, you can follow these.
#2.1. First, you need to create some pages in Not Linked with URL like this
/bio-popup01
/bio-popup02
#2.2. Add desired content to your Not Linked Pages
#2.3. Edit Simple List > Edit Button URL > use this format
#lightbox=/bio-popup01
#lightbox=/bio-popup02
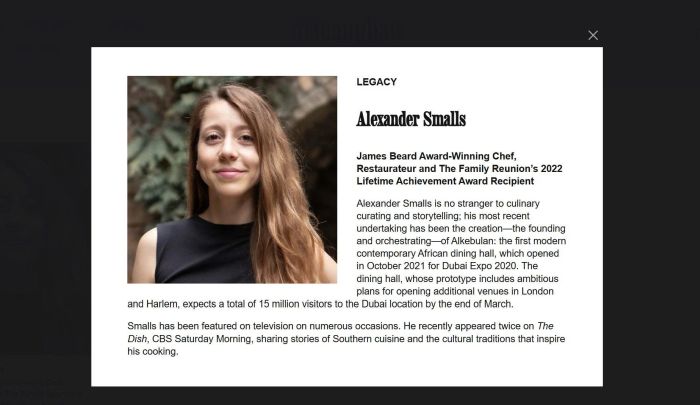
#2.4. Add a Markdown Block on Current Page
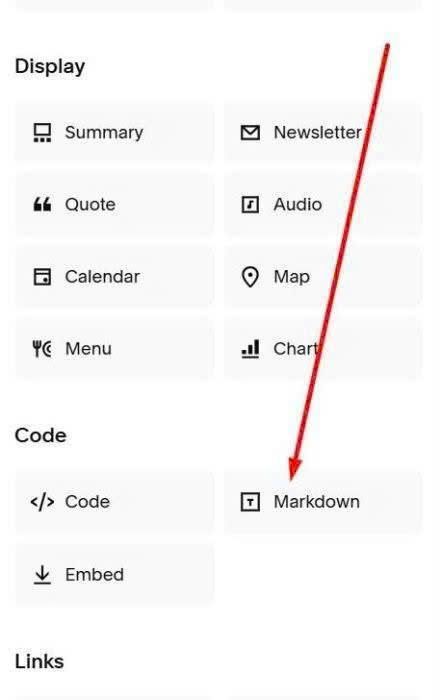
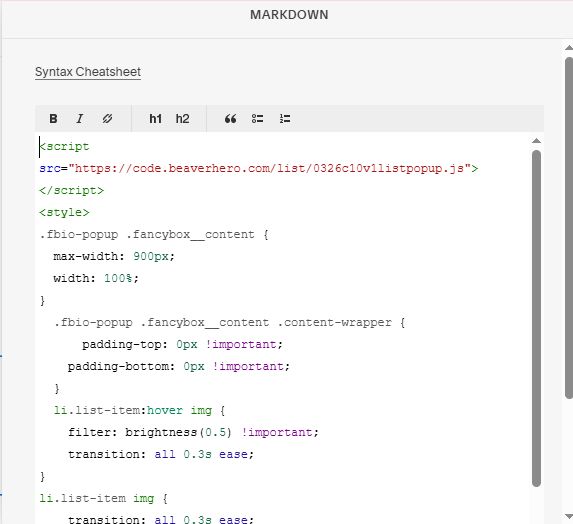
Next, add this code into Markdown Block
<script src="https://code.beaverhero.com/list/0326c10v1listpopup.js">
</script>
<style>
.fbio-popup .fancybox__content {
  max-width: 900px;
  width: 100%;
}
  .fbio-popup .fancybox__content .content-wrapper {
      padding-top: 0px !important;
    padding-bottom: 0px !important;
  }
  li.list-item:hover img {
    filter: brightness(0.5) !important;
    transition: all 0.3s ease;
}
li.list-item img {
    transition: all 0.3s ease;
}
</style>
#B. Customize
#1.1. To change lightbox overlay color, use this to Custom CSS
div.fancybox__backdrop {
    background-color: red !important;
}
#1.2. To make Popup on Button Click
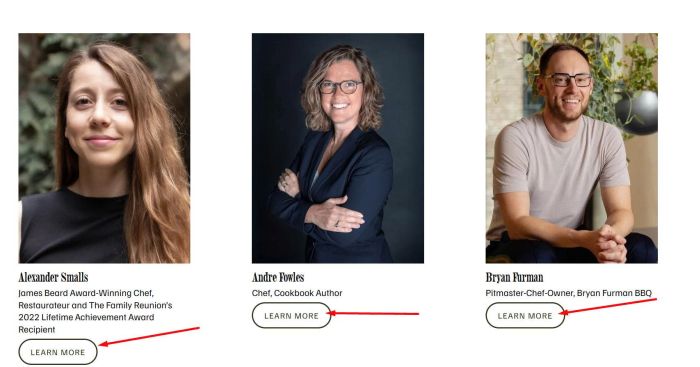
Use this new code
<!-- Lightbox on list button click -->
<script>
var LightboxConfig = {
  triggerSelector: '.list-item-content__button-container a',
};
</script>
<script src="https://code.beaverhero.com/tp/fancybox5.js"></script>
<style>
  .fbio-popup .fancybox__content .content-wrapper {
  	padding-top: 0px !important;
    padding-bottom: 0px !important;
  }
.fbio-popup .fancybox__content {
  max-width: 900px;
  width: 100%;
}
</style>
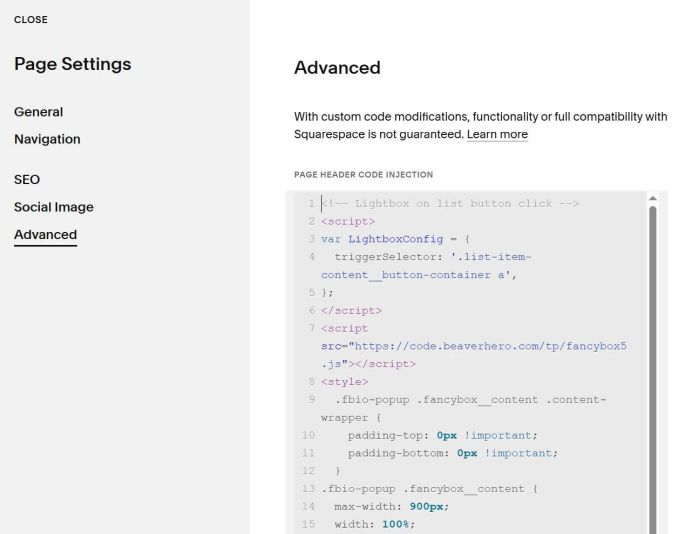
If you use Personal/Basic Plan and your plan doesn’t support Injection, you can add code to Markdown Block.
<script>
var LightboxConfig = {
  triggerSelector: '.list-item-content__button-container a',
};
</script>
<script src="https://code.beaverhero.com/tp/fancybox5.js"></script>
<style>
  .fbio-popup .fancybox__content .content-wrapper {
      padding-top: 0px !important;
    padding-bottom: 0px !important;
  }
.fbio-popup .fancybox__content {
  max-width: 900px;
  width: 100%;
}
</style>