Description
- tweak something in List Section Simple
- view demo – password: abc
- buy me a coffee

#1. Install Code
#1.1. First, you can add Section > Choose Team (section with (i) icon)
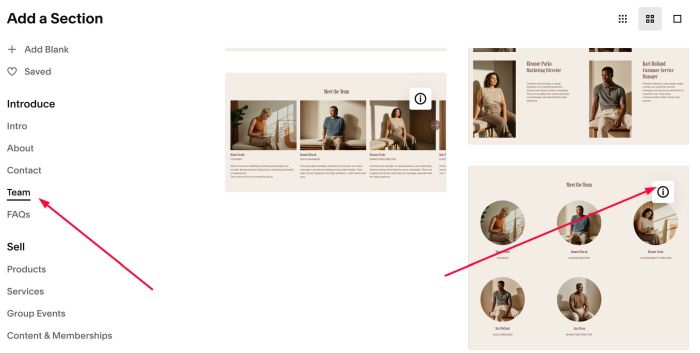
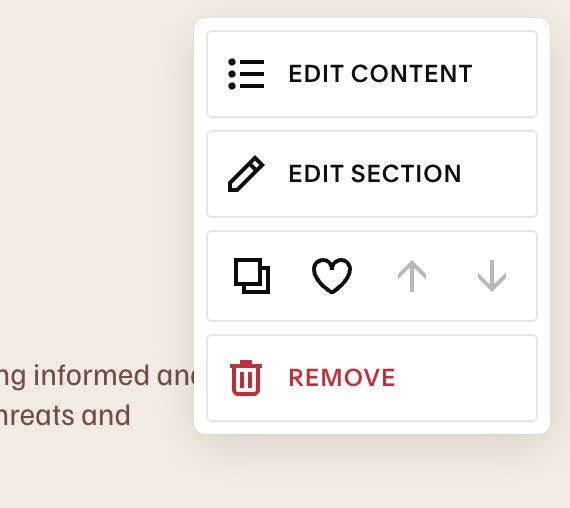
#1.2. Hover on top right of section > Click EDIT CONTENT
#1.3. Make sure you choose Simple List
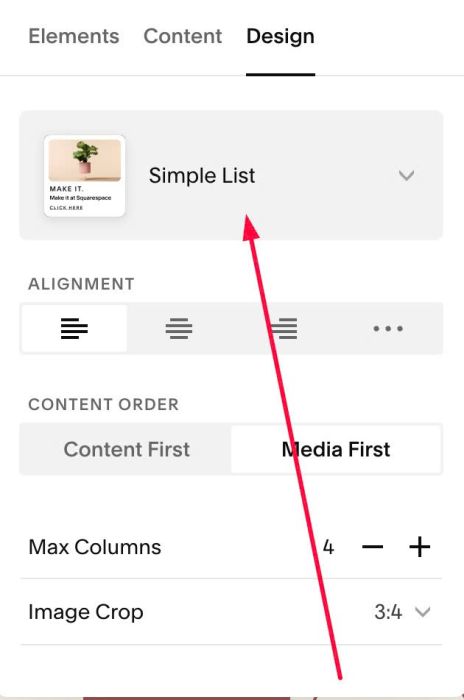
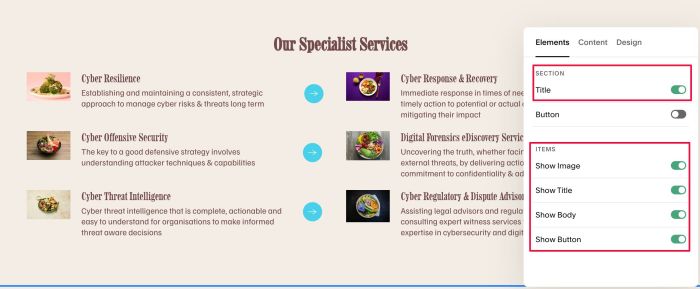
#1.4. Make sure you enabled these options.
You can enable Section Title or not.
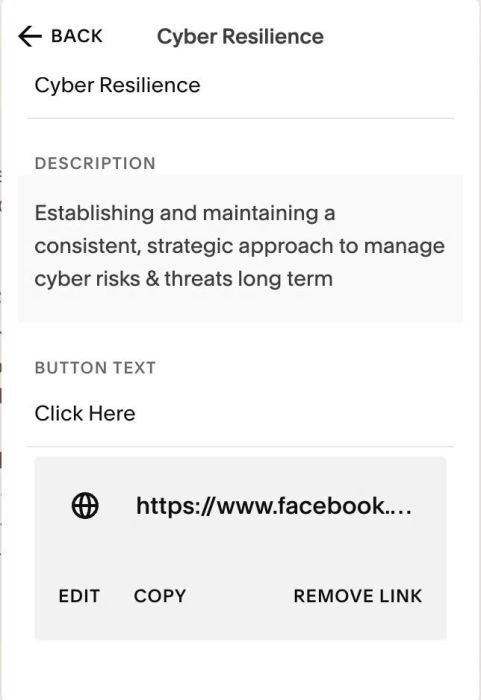
#1.5. at Content > Add your desired image/text/url
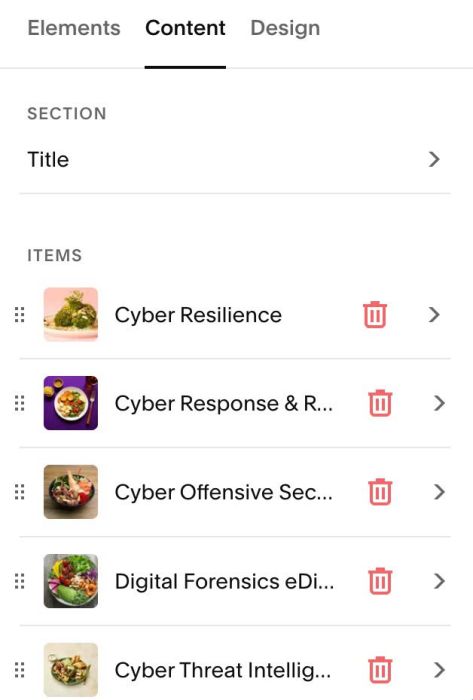
Note: We will use code to turn Button to Arrow in Next Steps.
#1.6. Hover on top right of section > Click EDIT SECTION
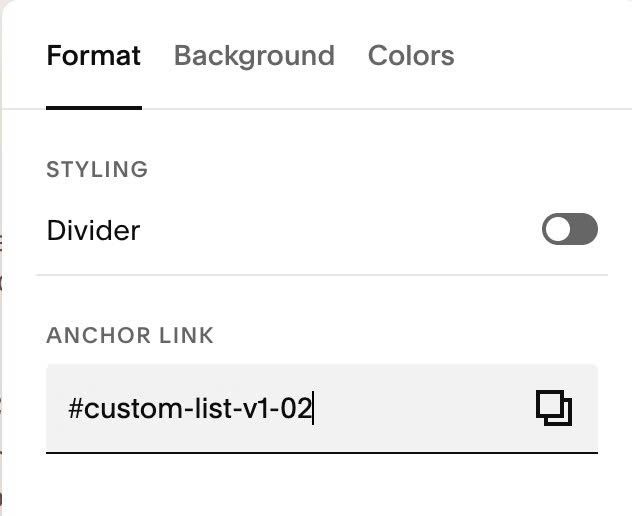
at Format > Anchor Link > enter word: custom-list-v1
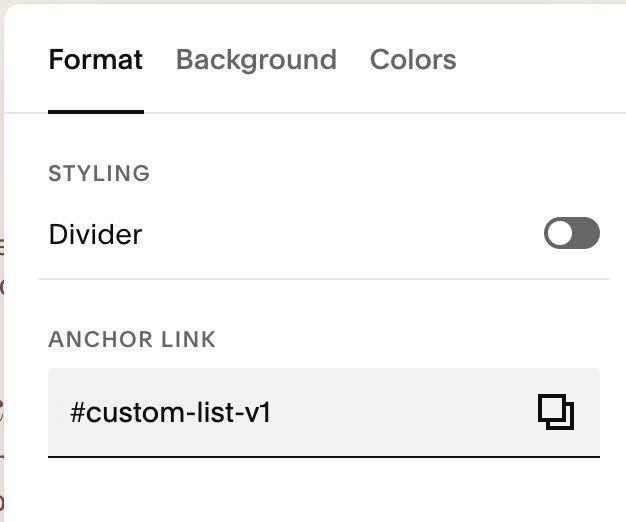
if you have multiple team/list sections on same page and you want to use same custom code in step #1.7, you can use anchor link like this: custom-list-v1-02, custom-list-v1-03, custom-list-v1-04…
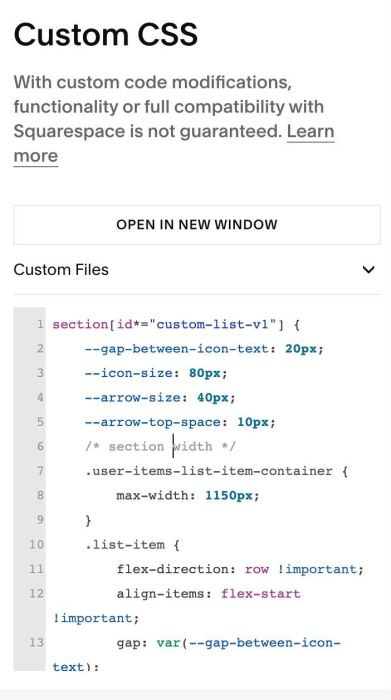
#1.7. Use this code to Custom CSS
section[id*="custom-list-v1"] {
    --gap-between-icon-text: 20px;
    --icon-size: 80px;
    --arrow-size: 40px;
    --arrow-top-space: 10px;
    /* section width */
    .user-items-list-item-container {
        max-width: 1150px;
    }
    .list-item {
        flex-direction: row !important;
        align-items: flex-start !important;
        gap: var(--gap-between-icon-text);
    }
    /* icon size */
    .list-item-media-inner {
        padding-bottom: unset !important;
        height: auto !important;
    }
    .list-item-media-inner img {
        position: static !important;
    }
    .list-item-media {
    max-width: var(--icon-size);
}
    /* arrows */
    a.list-item-content__button {
    background-color: none !important;
    border: none !important;
    color: transparent !important;
    background-image: url(https://images.squarespace-cdn.com/content/v1/64c0559e5a8a8a3aa0d2b9ae/d842b03d-f503-4bf5-89ed-b275739bb96f/NSB_WEBSITE_ICONS-08.png?format=300w) !important;
    background-size: var(--arrow-size) !important;
    background-repeat: no-repeat !important;
    background-position: center center !important;
    position: relative;
    top: var(--arrow-top-space);
}
    .list-item-content {
        display: flex;
    }
}
#2. Customize
#2.1. To change Left Icon size – Right arrow size, change these lines
--icon-size: 80px;
--arrow-size: 40px;
#2.2. To change space between Left Icon – Right text, change this line
--gap-between-icon-text: 20px;
#2.3. To move Right Arrow up or down, change this line
--arrow-top-space: 10px;
#2.4. To increase/decrease space on left/right of Team section, change this line
max-width: 1150px;
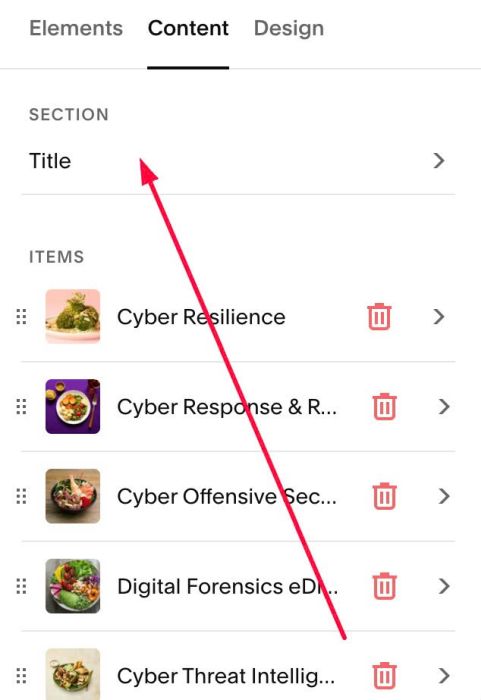
#2.5. To edit Section Title

you can click this option
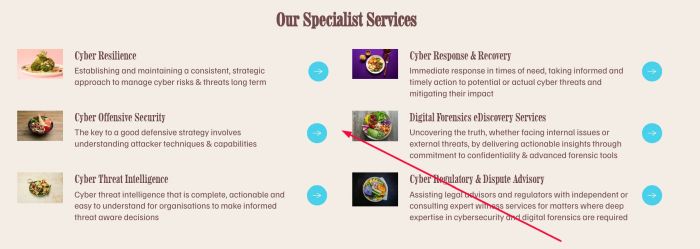
#2.6. To change horizontal space (red lines)
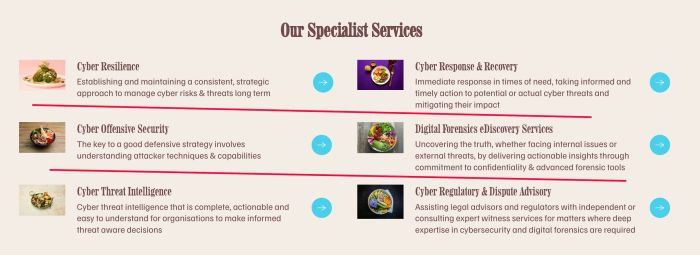
You can click on Design > Size & Space
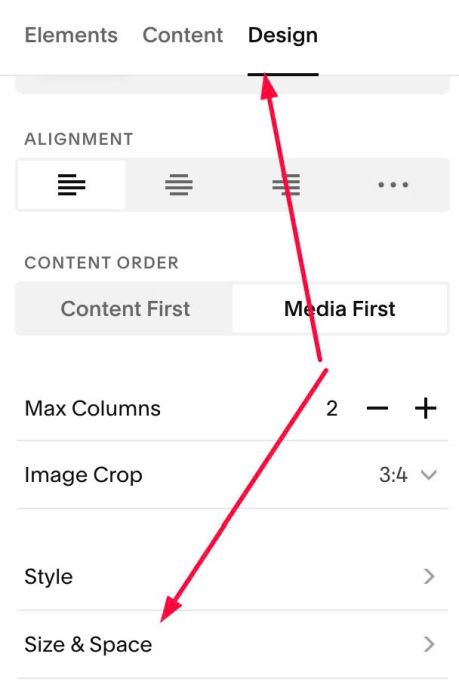
You can adjust this option
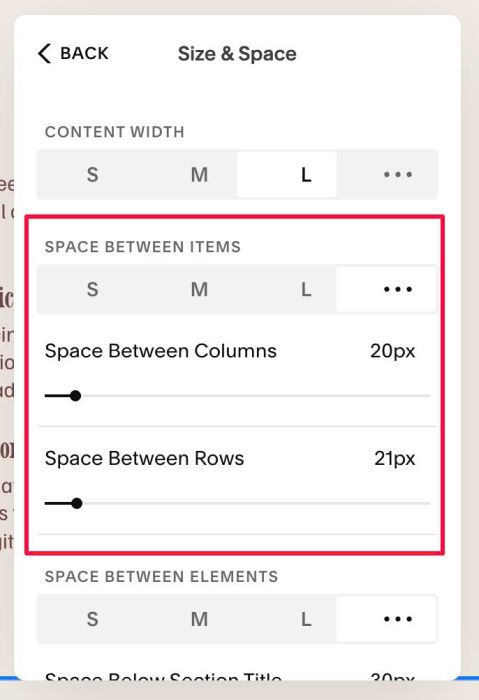
#2.7. To change vertical space (red line)
Repeat similar #2.6, but choose this option
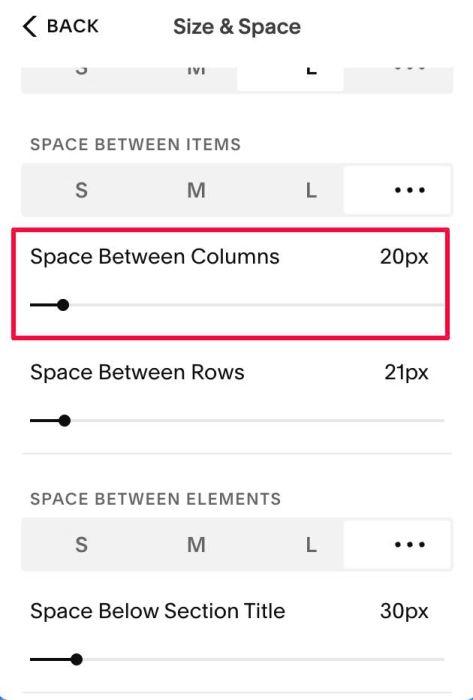
#2.8. To make Item Title Clickable, you can use this thread
Note: Anchor Link, you can use word like this: custom-list-v1list-clickable
if you have 2 or 3 sections on same page, use word like this for section 2, 3: custom-list-v1list-clickable02, custom-list-v1list-clickable03…
#2.9. To change Item Title Color
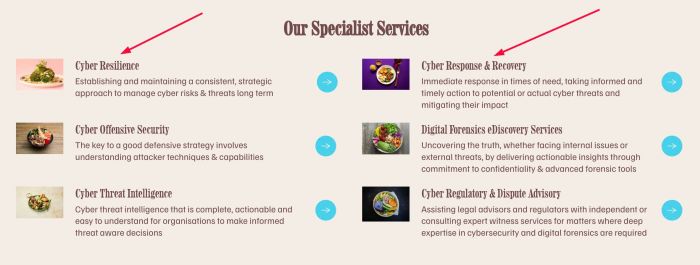
You can change it in Site Styles (I recommend using this way)
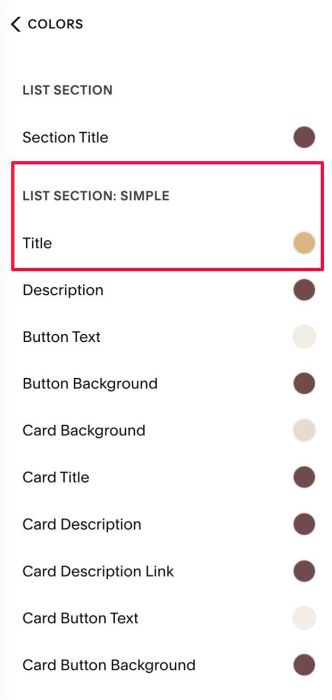
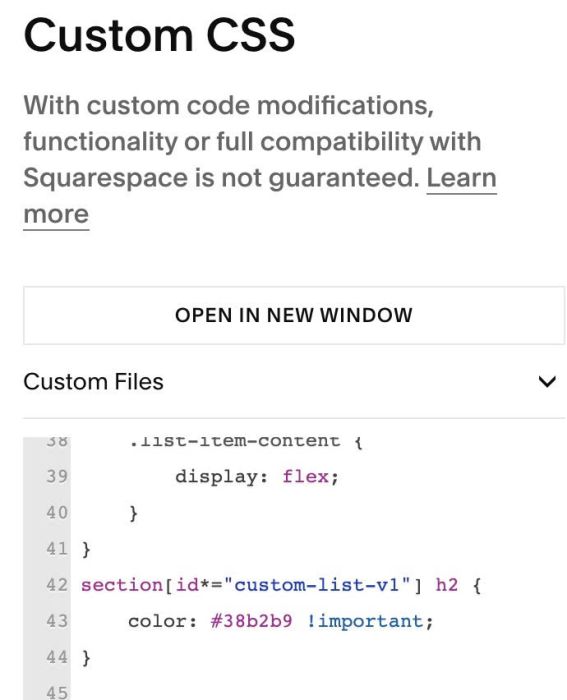
or use this code to Custom CSS
section[id*="custom-list-v1"] h2 {
    color: #38b2b9 !important;
}