Description
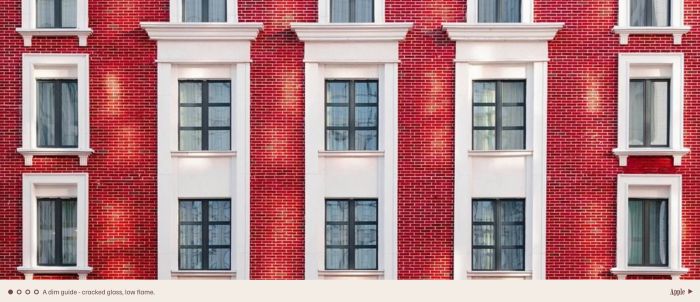
- project slideshow with image, dots/text (bottom left), text (bottom right), autoscroll…
- view demo – password: abc
- buy me a coffee
#1. Install Code
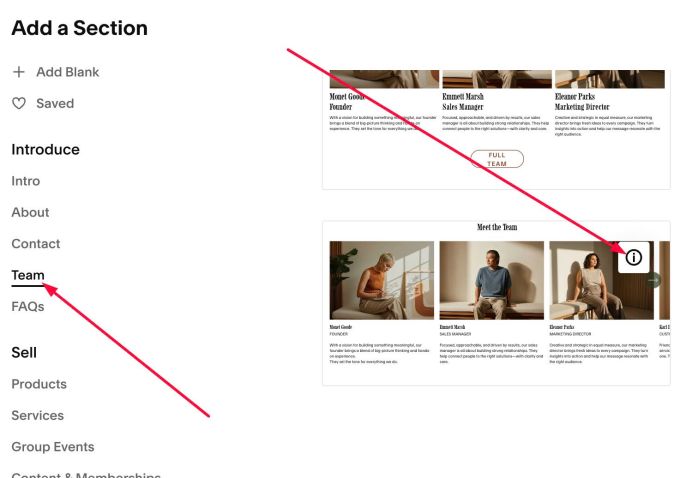
#1.1. First, add a Section > Choose Team > Choose section with (i) icon
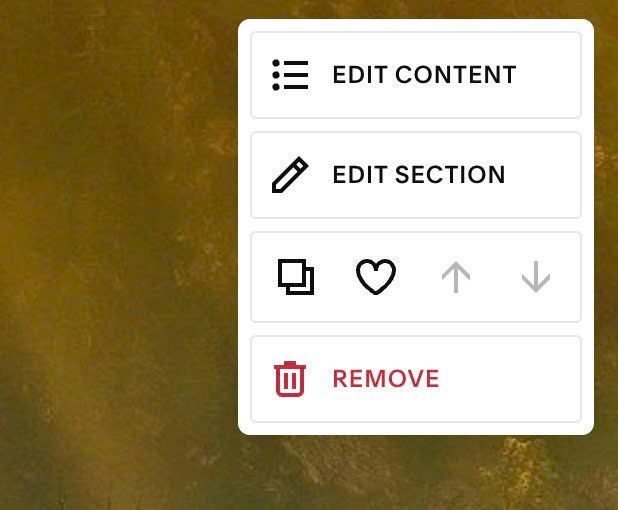
#1.2. Hover on top right of section > Click EDIT CONTENT
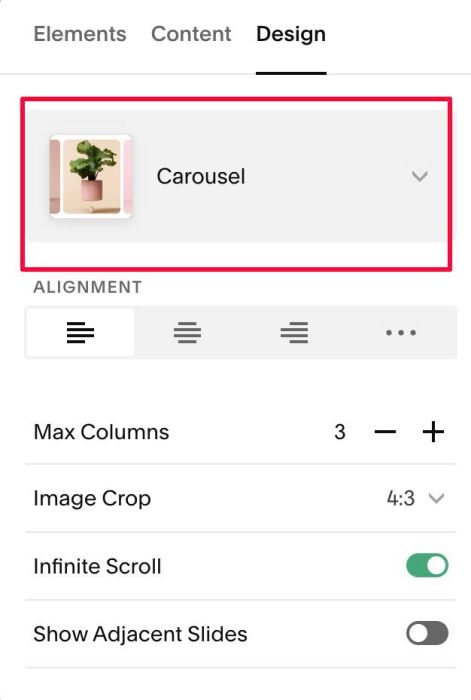
#1.3. At Design, choose Carousel
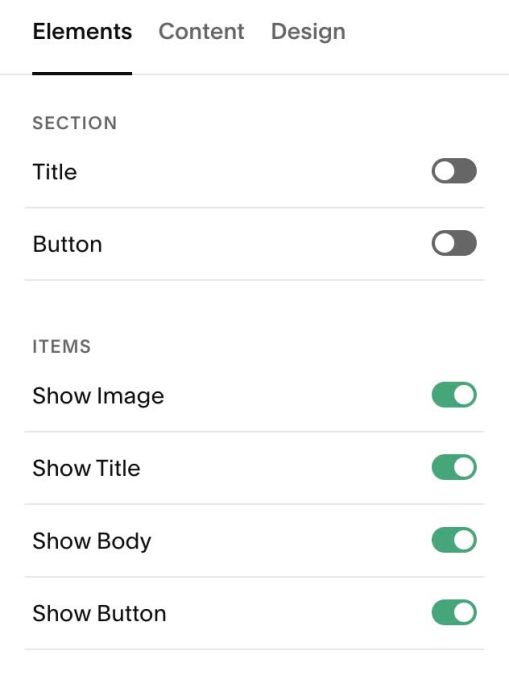
#1.4. at Elements > Enable these options. You can enable Section Title, Section Button (if you want).
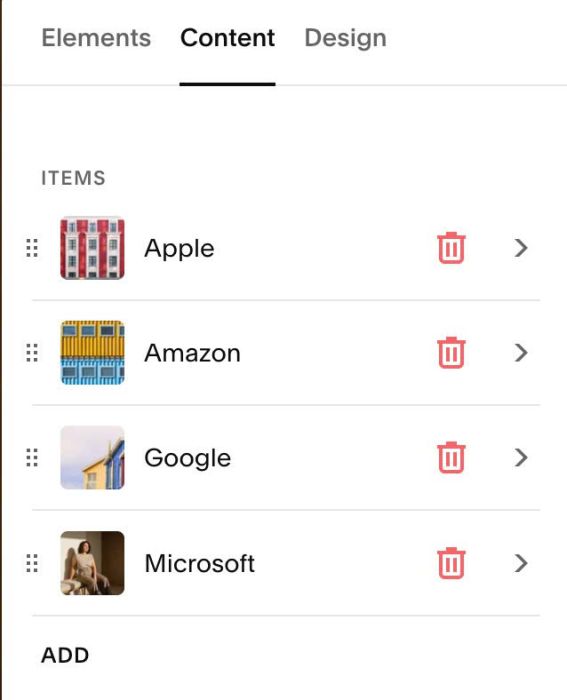
#1.5. at Content > Add your desired image/text
#1.5-2. Bottom Left = Item Description (Item body)
Bottom Right = Item Title
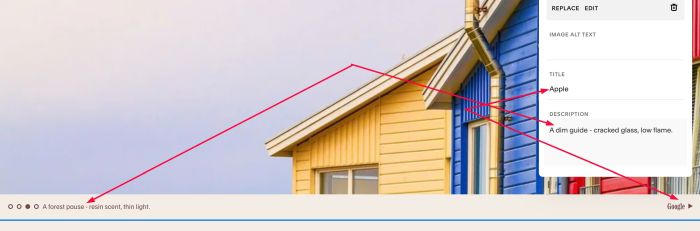
#1.5-3. Add URL to Item Button (Image, Bottom Right Text will use this URL)
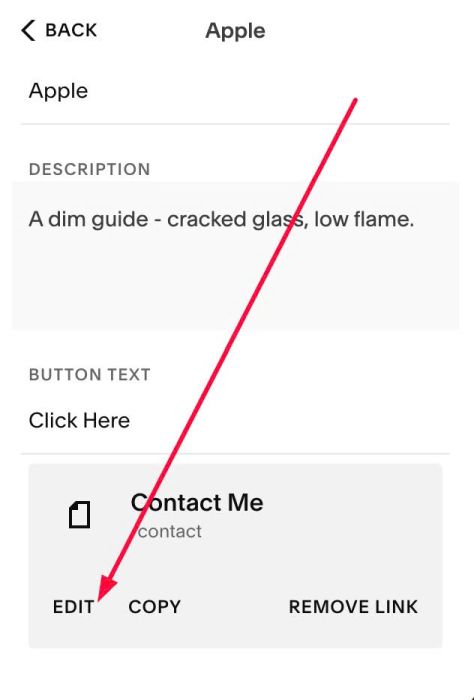
#1.6. Hover on top right of section > Click EDIT SECTION
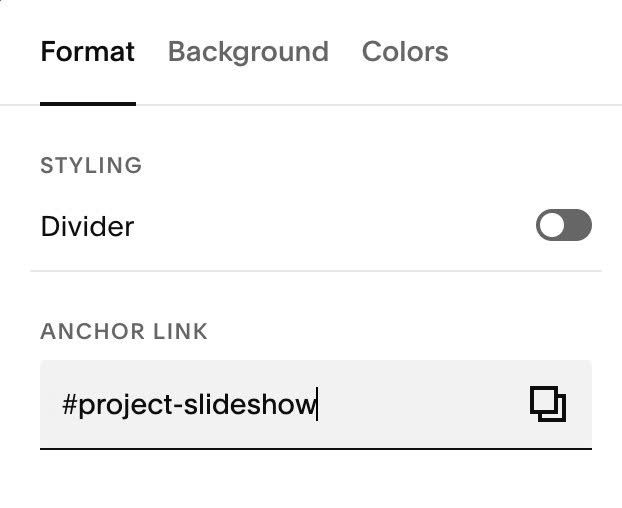
#1.6-2. At Format > Anchor Link, enter word: project-slideshow
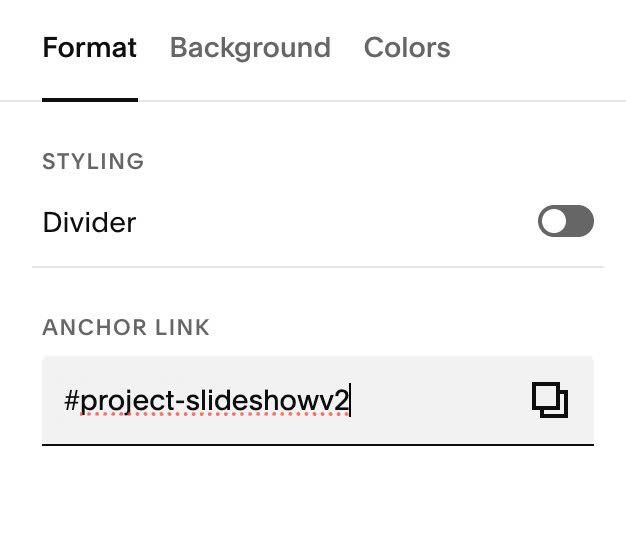
#1.6-3. If you have multiple slideshow on same pages, just use anchor link: project-slideshowv2, project-slideshowv3….
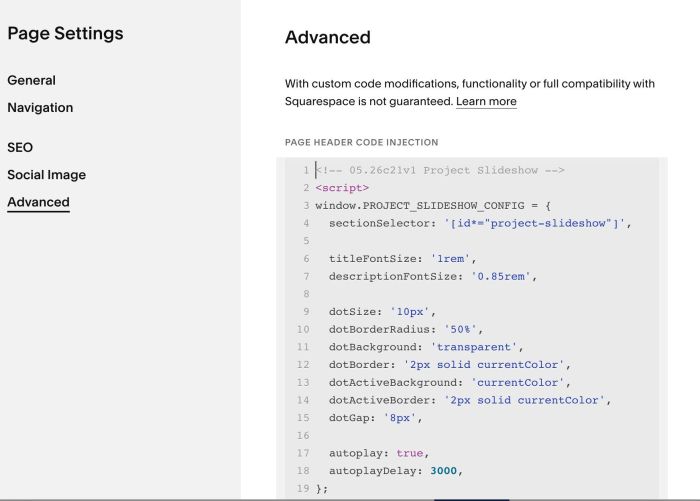
#1.7. Hover on Page where you added Team/List Carousel > click Gear icon.
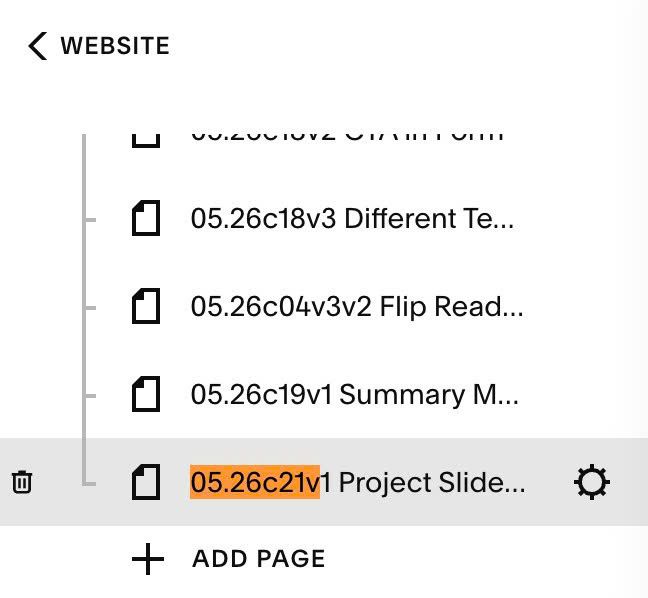
Click Advanced > Paste this code.
- But if you use Personal/Basic Plan and your plan doesn’t support Injection, see step #3.1
<!-- 05.26c21v1 Project Slideshow -->
<script>
window.PROJECT_SLIDESHOW_CONFIG = {
  sectionSelector: '[id*="project-slideshow"]',

  titleFontSize: '1rem',
  descriptionFontSize: '0.85rem',

  dotSize: '10px',
  dotBorderRadius: '50%',
  dotBackground: 'transparent',
  dotBorder: '2px solid currentColor',
  dotActiveBackground: 'currentColor',
  dotActiveBorder: '2px solid currentColor',
  dotGap: '8px',

  autoplay: true,
  autoplayDelay: 3000,
};
</script>
<script src="https://code.beaverhero.com/list/0526c21v1projectslideshow.js"></script>
#2. Customize
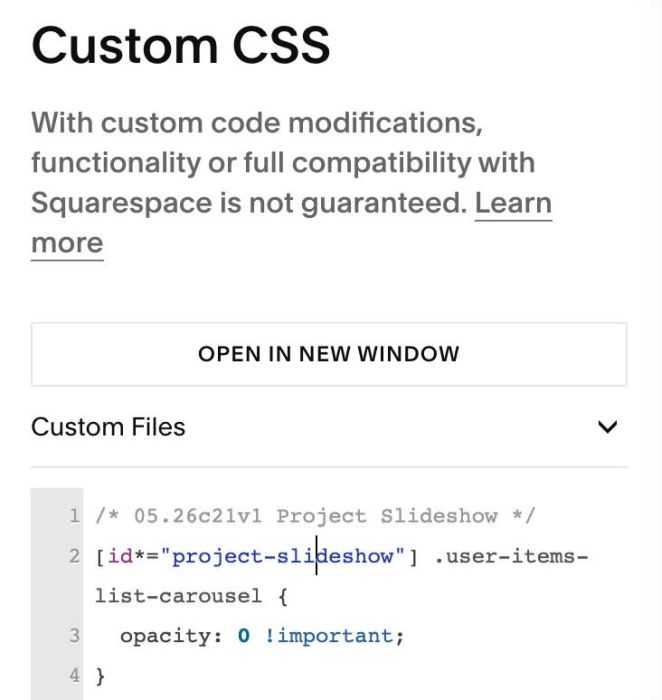
#2.1. If you see some arrows appears then disappear, use this code to Custom CSS
/* 05.26c21v1 Project Slideshow */
[id*="project-slideshow"] .user-items-list-carousel {
  opacity: 0 !important;
}
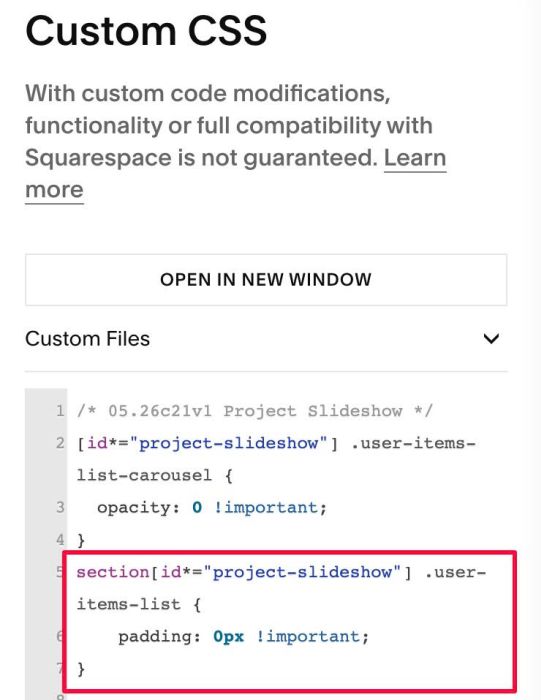
#2.2. If you want to remove space on top of Slideshow, use this code to Custom CSS
section[id*="project-slideshow"] .user-items-list {
    padding: 0px !important;
}
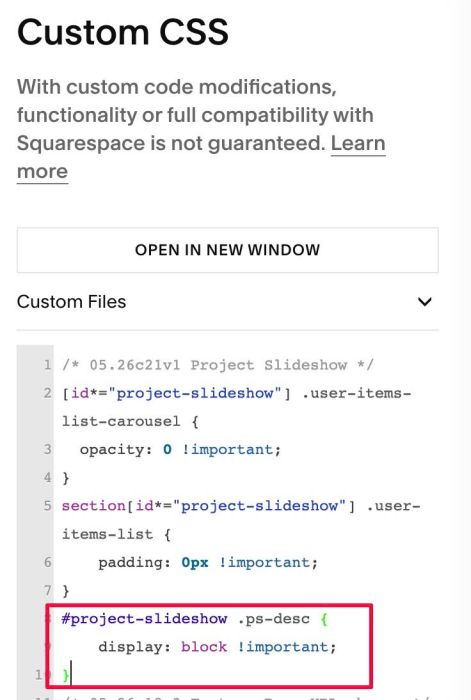
#2.3. By default, bottom left text is invisible on Mobile. If you want to make it visible on all devices, use this to Custom CSS
#project-slideshow .ps-desc {
    display: block !important;
}
#2.4. To change image size, you can use this option.
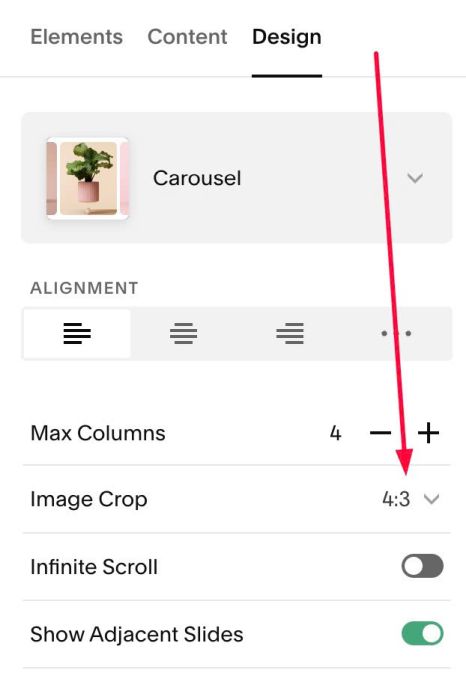
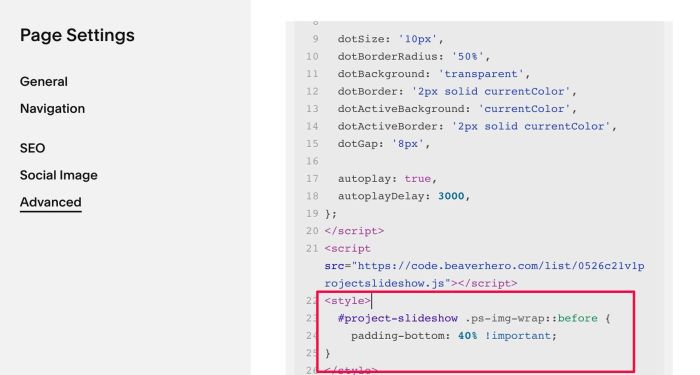
However you can also use this code under main code
<style>
  #project-slideshow .ps-img-wrap::before {
    padding-bottom: 40% !important;
}
</style>
#2.5. To change Bottom Left – Bottom Right text size, change this line (Line 06, Line 07)
titleFontSize: '1rem',
  descriptionFontSize: '0.85rem',
#2.6. To change Dots (bottom left) style, change line 09 to line 15
dotSize: '10px',
dotBorderRadius: '50%',
dotBackground: 'transparent',
dotBorder: '2px solid currentColor',
dotActiveBackground: 'currentColor',
dotActiveBorder: '2px solid currentColor',
dotGap: '8px',
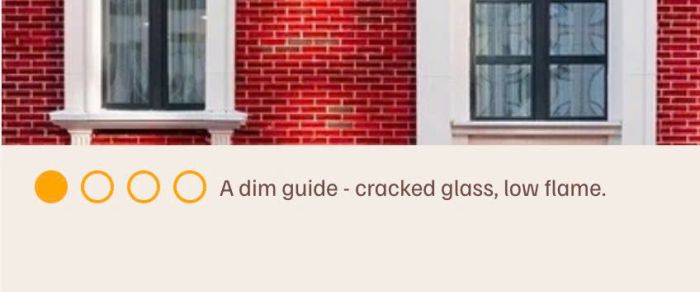
for example
dotSize: '20px',
 dotBorderRadius: '50%',
 dotBackground: 'transparent',
 dotBorder: '2px solid #ffa500',
 dotActiveBackground: '#ffa500',
 dotActiveBorder: '2px solid #ffa500',
 dotGap: '8px',
result
#2.7. To enable/disable autoscroll, adjust line 17, 18
autoplay: true,
 autoplayDelay: 3000,
#3. Other
#3.1. If you use Personal/Basic Plan and your plan doesn’t support Injection, you can edit Current Page. Add a Block.
Choose Markdown
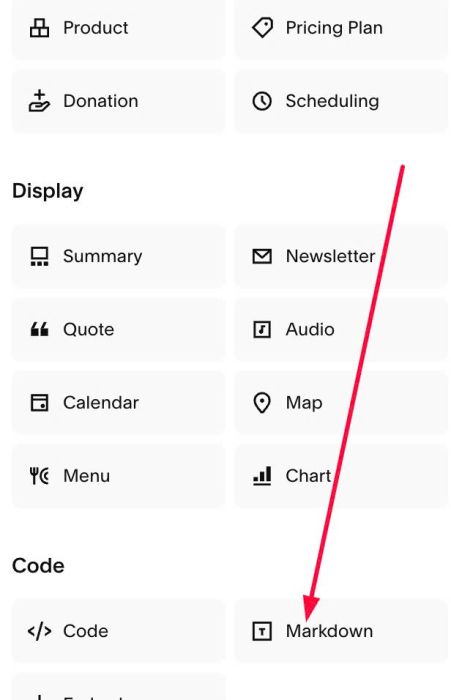
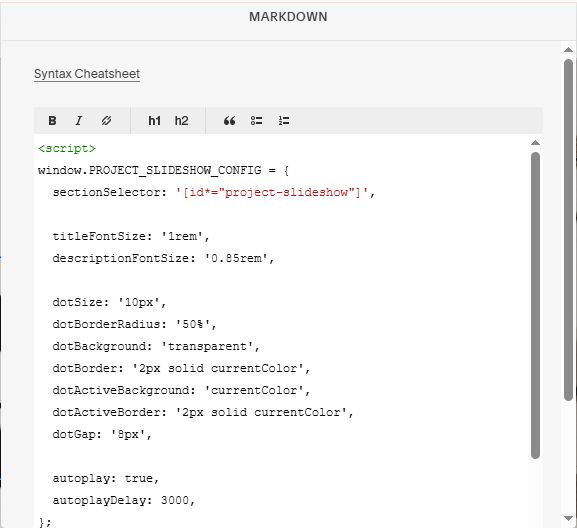
Add this code into Markdown
<script>
window.PROJECT_SLIDESHOW_CONFIG = {
  sectionSelector: '[id*="project-slideshow"]',

  titleFontSize: '1rem',
  descriptionFontSize: '0.85rem',

  dotSize: '10px',
  dotBorderRadius: '50%',
  dotBackground: 'transparent',
  dotBorder: '2px solid currentColor',
  dotActiveBackground: 'currentColor',
  dotActiveBorder: '2px solid currentColor',
  dotGap: '8px',

  autoplay: true,
  autoplayDelay: 3000,
};
</script>
<script src="https://code.beaverhero.com/list/0526c21v1projectslideshow.js"></script>