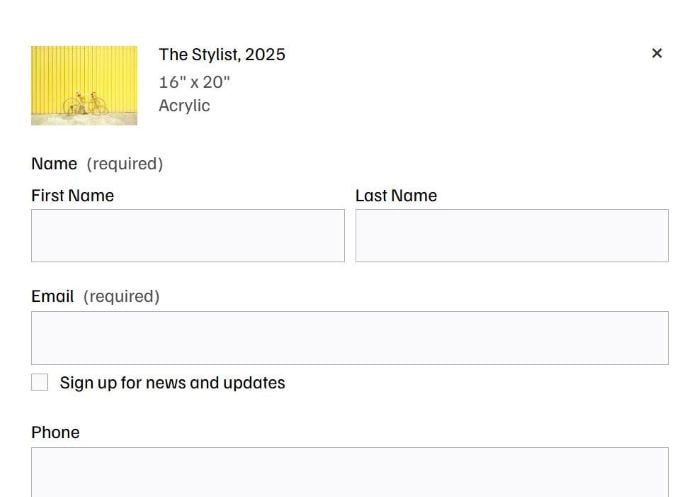
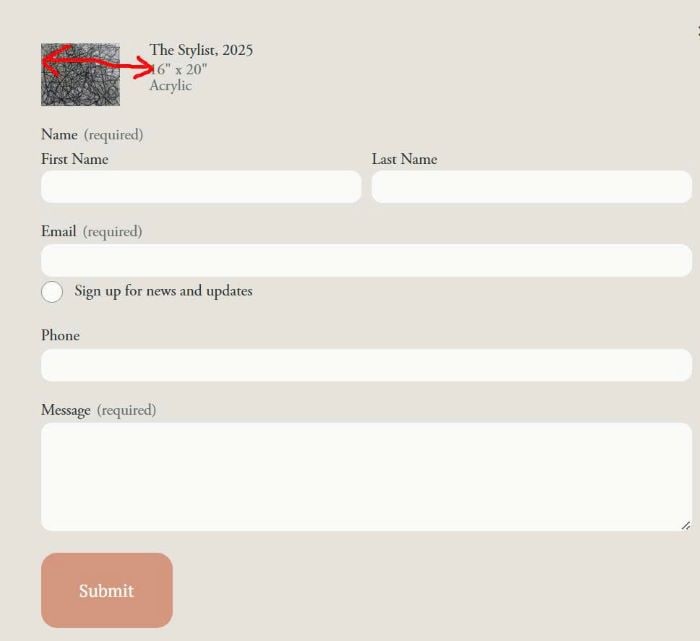
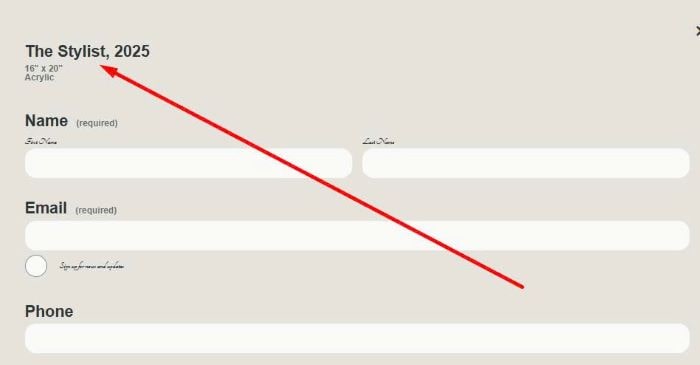
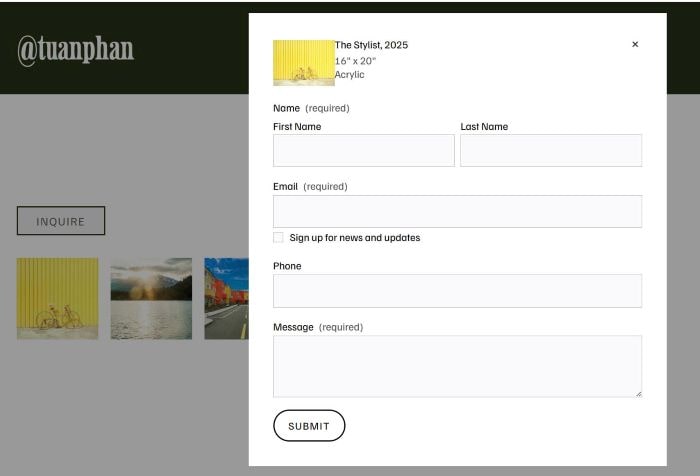
To add Image Description to Form Block like this.
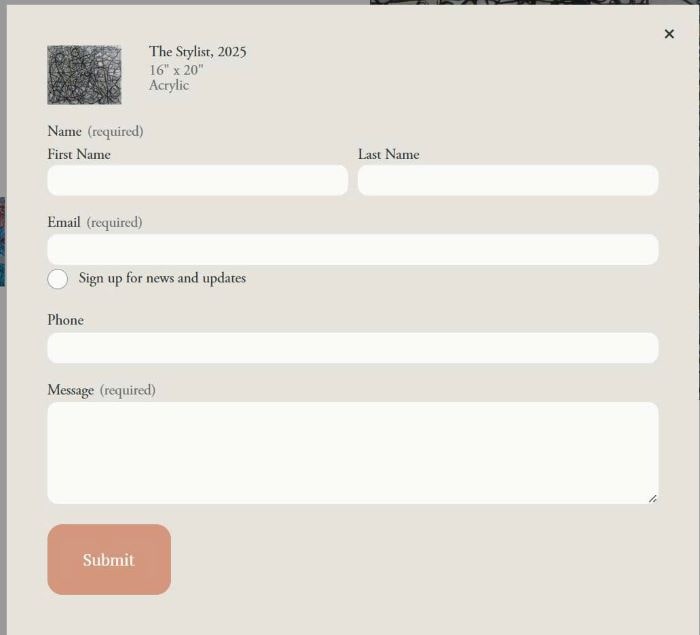
#A. One Page
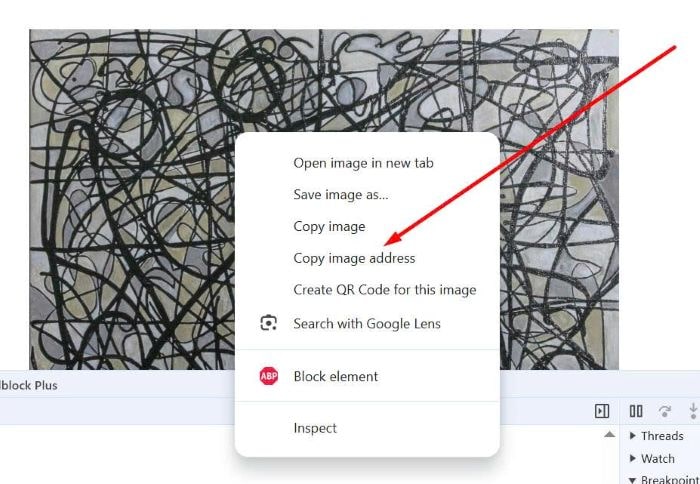
#1. First, hover on Image > Copy Image Address
If you have already Image URL, you can skip this step.
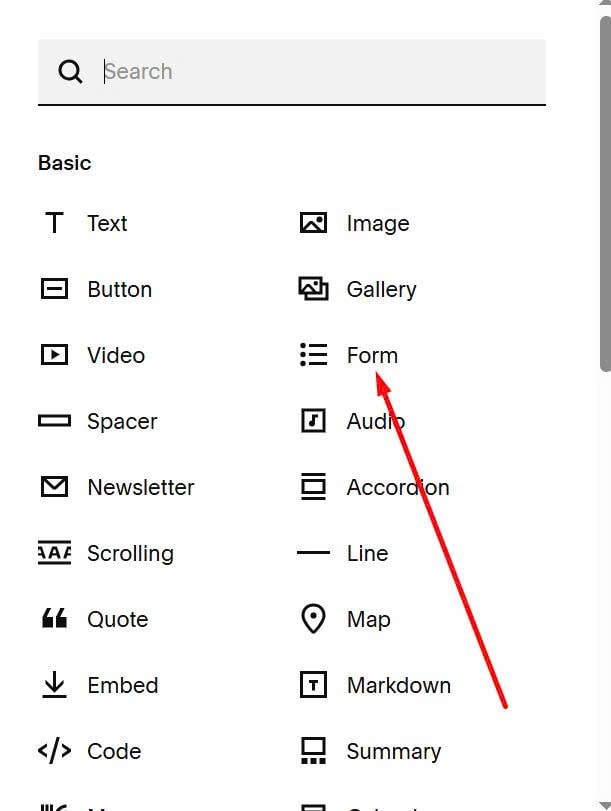
#2. Next, edit Page > Add a Form Block
#3. Click Add Field
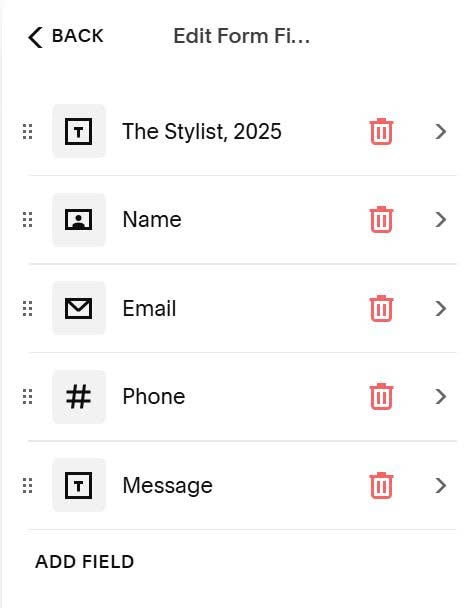
#4. Choose Text Area
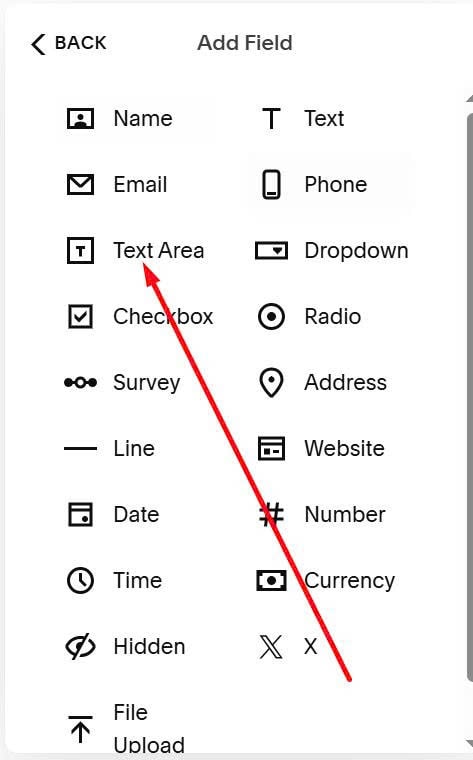
#5. Enter Image info in Label & Description field
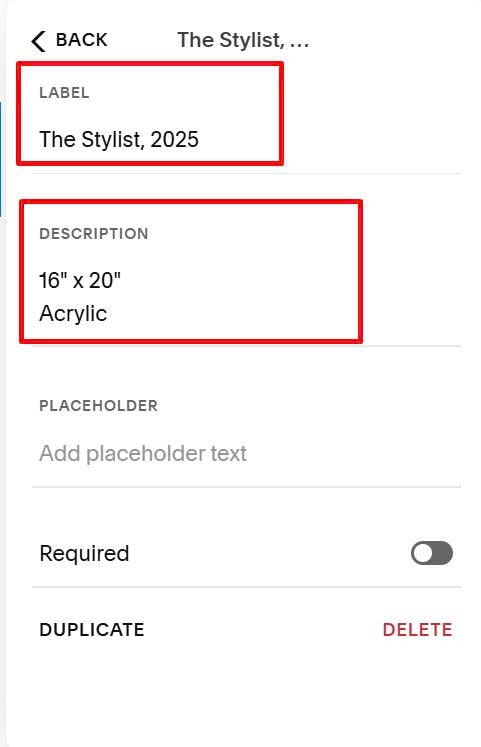
Depending on what you fill in, it will then show up like this at the end.
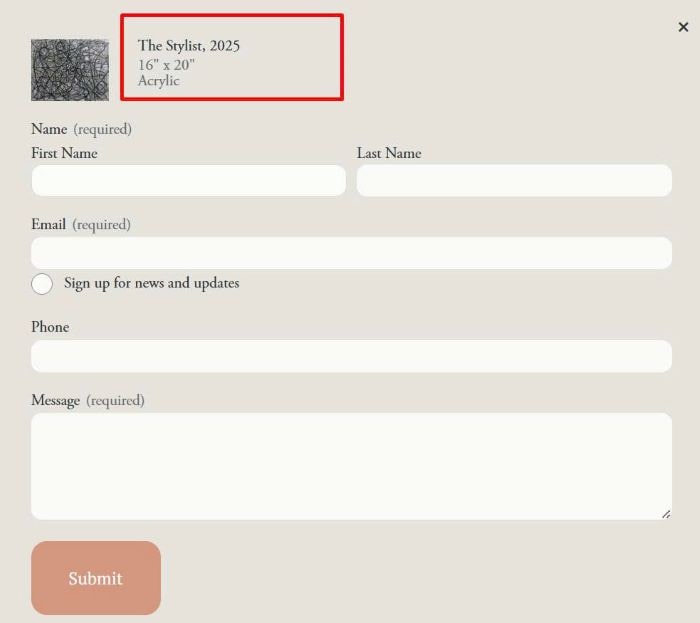
#6. Make sure move Text Area field to top of form.
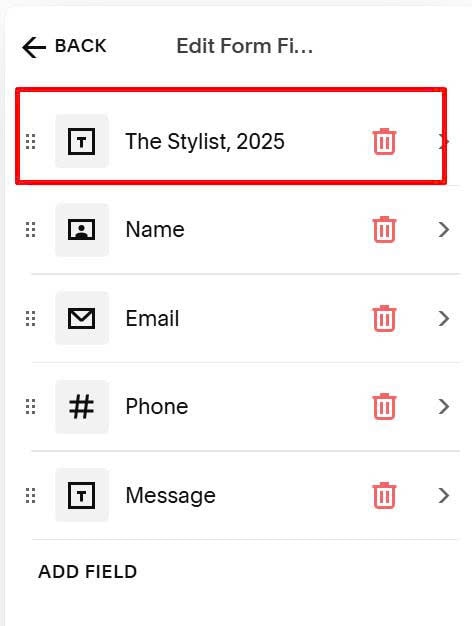
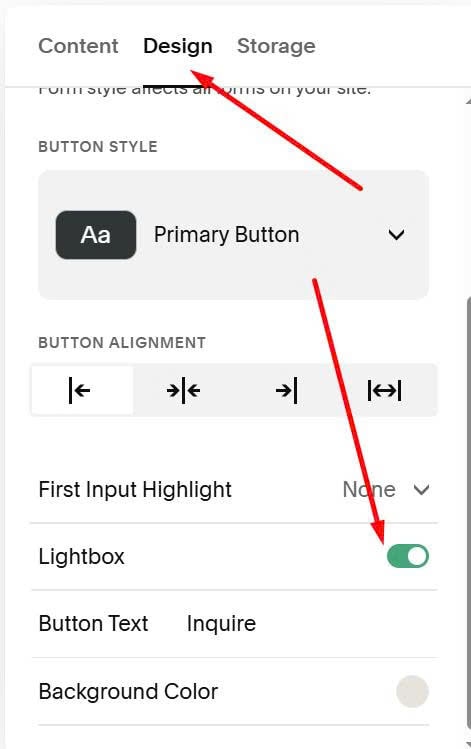
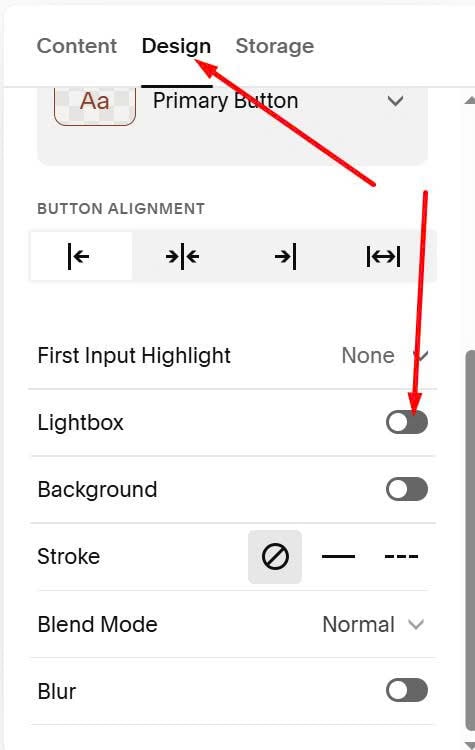
#7. Click Design > Enable Lightbox
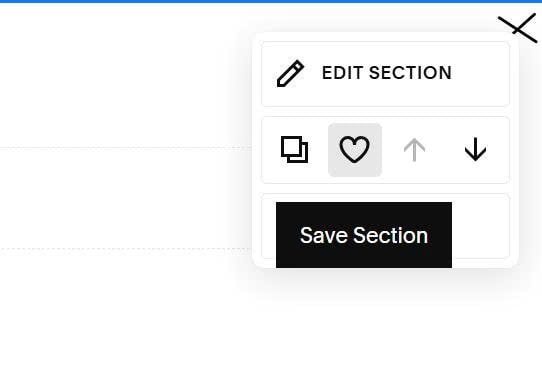
#8. Note: To avoid wasting time repeating these steps many times, you just need to Save Section and add to new page, then edit the form a little bit.
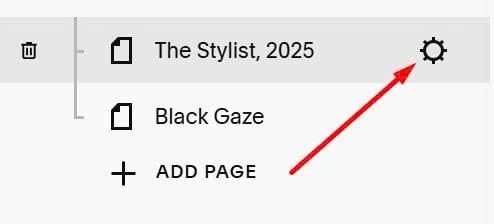
#9. Hover on Page (where you use Form Block) > Click Gear icon
#10. Paste this code to right box
<!-- Image Description into Inquire Form -->
<style>
  .textarea:first-child:before {
    background-image: url(https://images.squarespace-cdn.com/content/v1/68b77330387e9b03aeee831e/e3e94a4b-5138-45fe-a591-1c93ba3dd44b/The+Stylist+16x20+2025.jpeg?format=750w);
    height: 100%;
    width: 100px;
}
.textarea:first-child {
    padding-left: 100px;
}
  @media screen and (max-width:767px) {
 .textarea:first-child:before {
    height: 100px;
    width: 100px !important;
    margin-bottom: 5px;
}
}
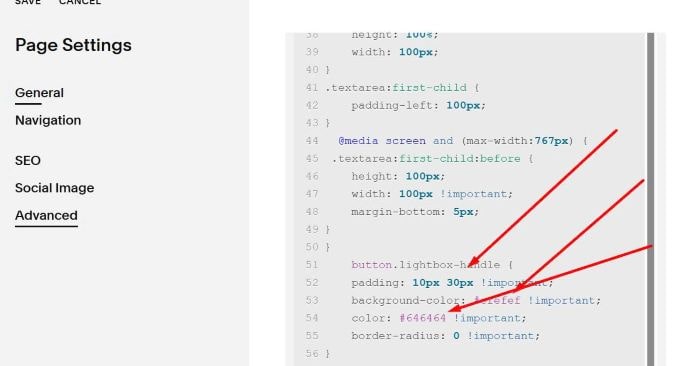
    button.lightbox-handle {
    padding: 10px 30px !important;
    background-color: #efefef !important;
    color: #646464 !important;
    border-radius: 0 !important;
}
@media screen and (max-width:767px){.textarea:first-child:before{position:static!important;display:block!important}.textarea:first-child{padding:0!important}.sqs-modal-lightbox-content .lightbox-inner .lightbox-content{max-width:300px!important}.textarea:first-child span.form-input-effects-border{display:none!important}}.textarea:first-child:before{content:"";background-size:contain;background-repeat:no-repeat;background-position:left;display:inline-block;position:absolute}.sqs-modal-lightbox-content .lightbox-inner .lightbox-content{flex-direction:column;justify-content:flex-start!important;display:block!important}.sqs-modal-lightbox-content .lightbox-inner{height:auto!important}.sqs-modal-lightbox-content .lightbox-inner .lightbox-content .lightbox-close{z-index:99999999}div.form-title{display:none}.form-inner-wrapper>form{margin-top:0px!important}.textarea:first-child p.description{padding-top:0}.textarea:first-child textarea{display:none}
</style>
<!-- END Image Description into Inquire Form -->
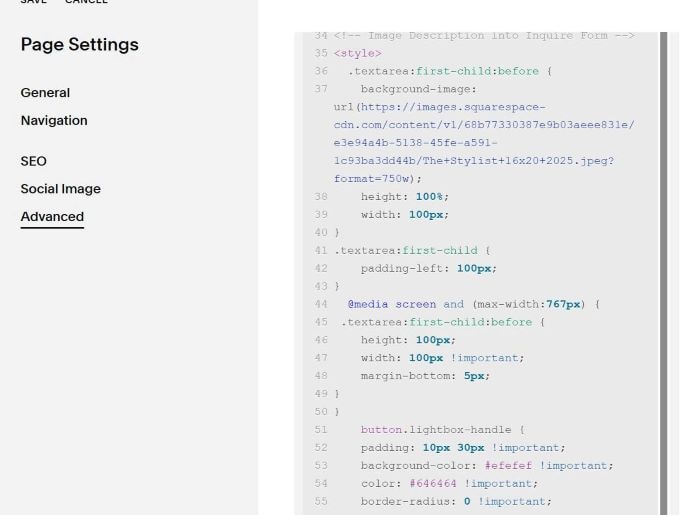
#11. Note
#11.1. Change Image Url you have in step #1
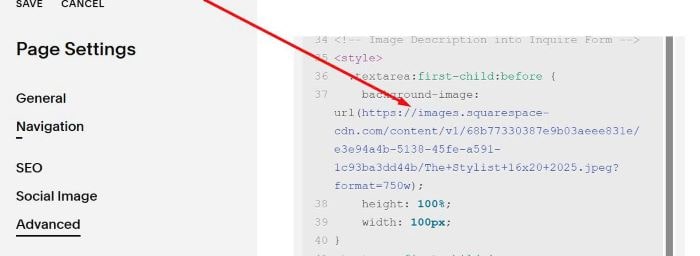
#11.2. This is Image Size (Desktop)
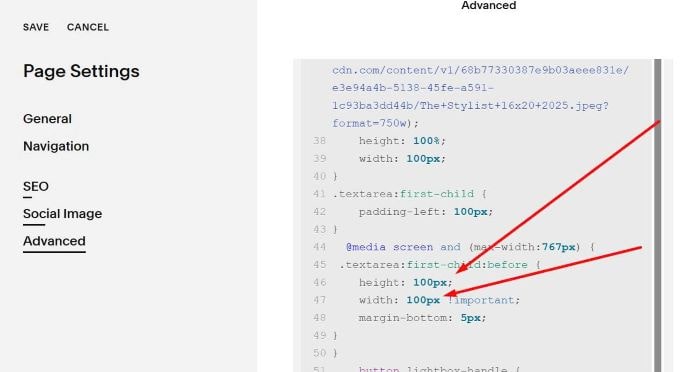
#11.3. This is Image size (Mobile)
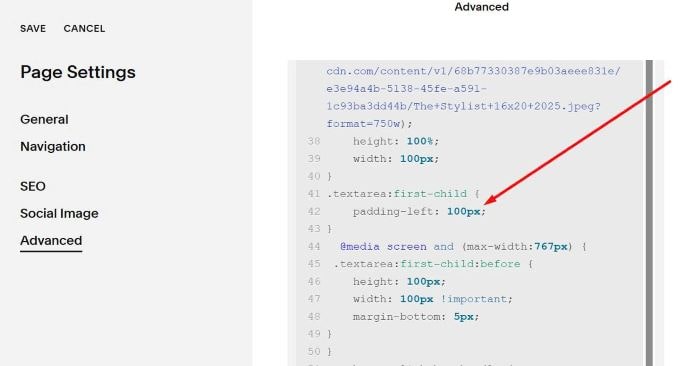
#11.4. This is space between Text – Left of Form
I mean this space
#11.5. To change Inquire button style
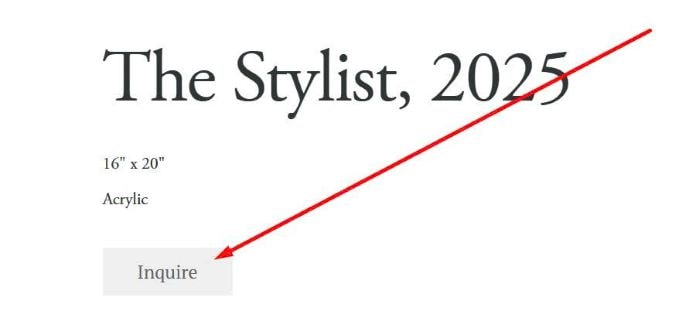
Change this.
#B. Multiple Pages
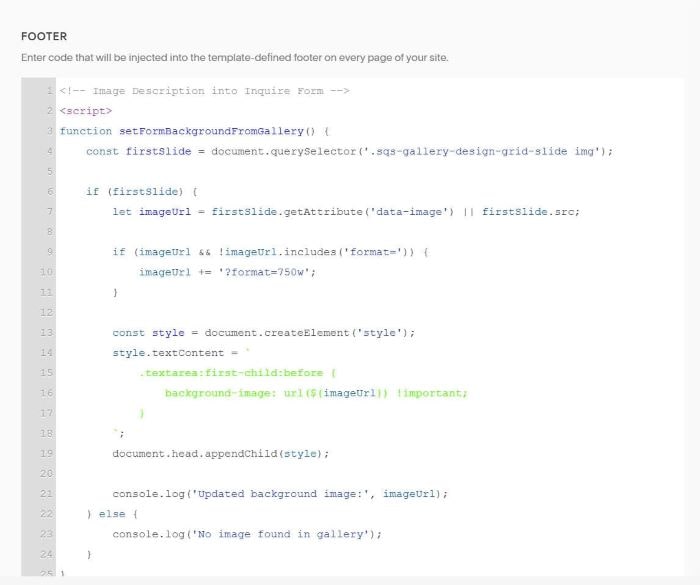
#1. First, use this code to Code Injection > Footer
<!-- Image Description into Inquire Form -->
<script>
function setFormBackgroundFromGallery() {
    const firstSlide = document.querySelector('.sqs-gallery-design-grid-slide img');

    if (firstSlide) {
        let imageUrl = firstSlide.getAttribute('data-image') || firstSlide.src;

        if (imageUrl && !imageUrl.includes('format=')) {
            imageUrl += '?format=750w';
        }

        const style = document.createElement('style');
        style.textContent = `
            .textarea:first-child:before {
                background-image: url(${imageUrl}) !important;
            }
        `;
        document.head.appendChild(style);

        console.log('Updated background image:', imageUrl);
    } else {
        console.log('No image found in gallery');
    }
}

if (document.readyState === 'loading') {
    document.addEventListener('DOMContentLoaded', setFormBackgroundFromGallery);
} else {
    setFormBackgroundFromGallery();
}

setTimeout(setFormBackgroundFromGallery, 1000);
</script>
<!-- END Image Description into Inquire Form
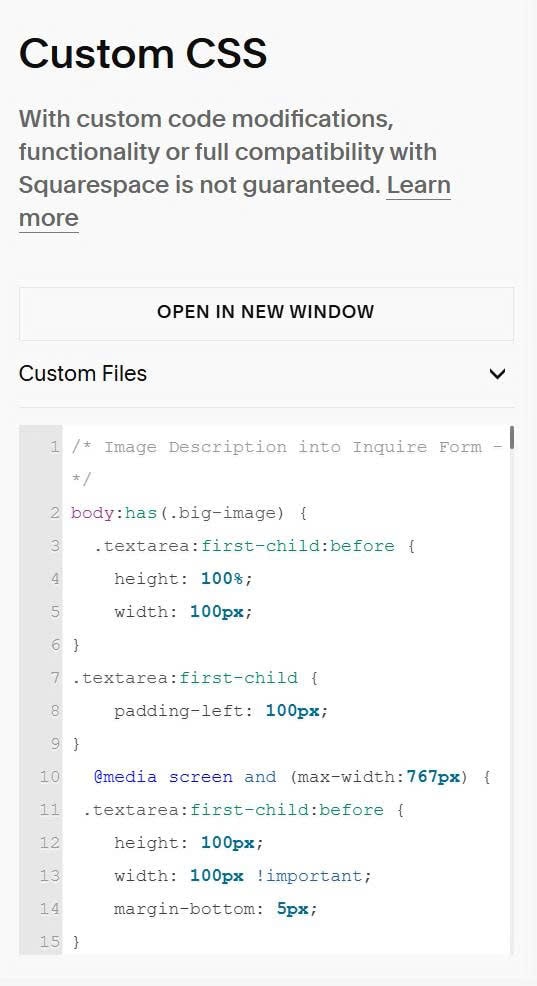
#2. Next, use this code to Custom CSS
/* Image Description into Inquire Form -*/
body:has(.big-image) {
  .textarea:first-child:before {
    height: 100%;
    width: 100px;
}
.textarea:first-child {
    padding-left: 100px;
}
  @media screen and (max-width:767px) {
 .textarea:first-child:before {
    height: 100px;
    width: 100px !important;
    margin-bottom: 5px;
}
}
    button.lightbox-handle {
    padding: 10px 30px !important;
    background-color: #efefef !important;
    color: #646464 !important;
    border-radius: 0 !important;
}
@media screen and (max-width:767px){.textarea:first-child:before{position:static!important;display:block!important}.textarea:first-child{padding:0!important}.sqs-modal-lightbox-content .lightbox-inner .lightbox-content{max-width:300px!important}.textarea:first-child span.form-input-effects-border{display:none!important}}.textarea:first-child:before{content:"";background-size:contain;background-repeat:no-repeat;background-position:left;display:inline-block;position:absolute}.sqs-modal-lightbox-content .lightbox-inner .lightbox-content{flex-direction:column;justify-content:flex-start!important;display:block!important}.sqs-modal-lightbox-content .lightbox-inner{height:auto!important}.sqs-modal-lightbox-content .lightbox-inner .lightbox-content .lightbox-close{z-index:99999999}div.form-title{display:none}.form-inner-wrapper>form{margin-top:0px!important}.textarea:first-child p.description{padding-top:0}.textarea:first-child textarea{display:none}}
/* END - Image Description into Inquire Form -*/
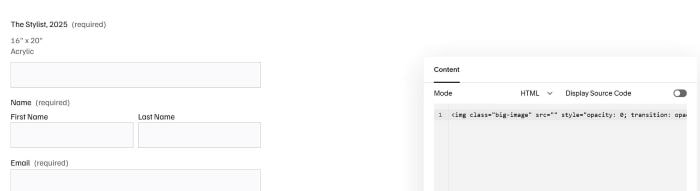
#3. Edit page > Add a Code Block with syntax
(You can skip this step if page has already Code Block with same syntax)
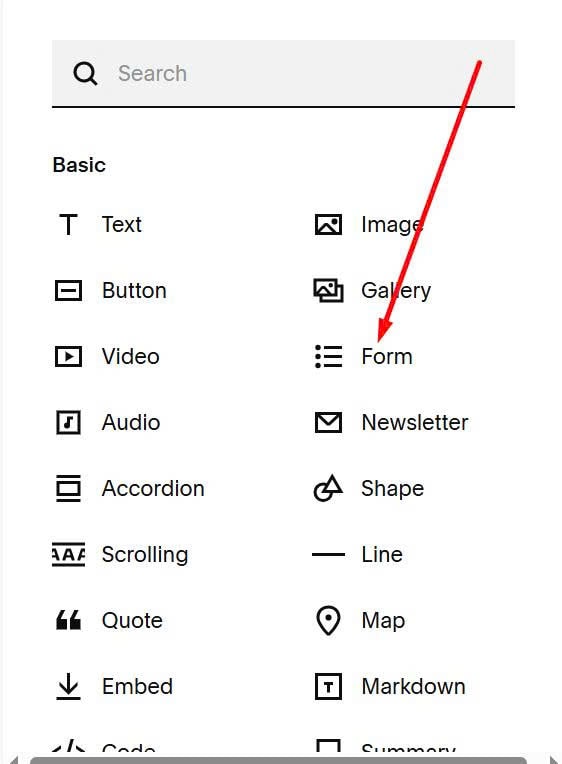
#4. Add a Form Block
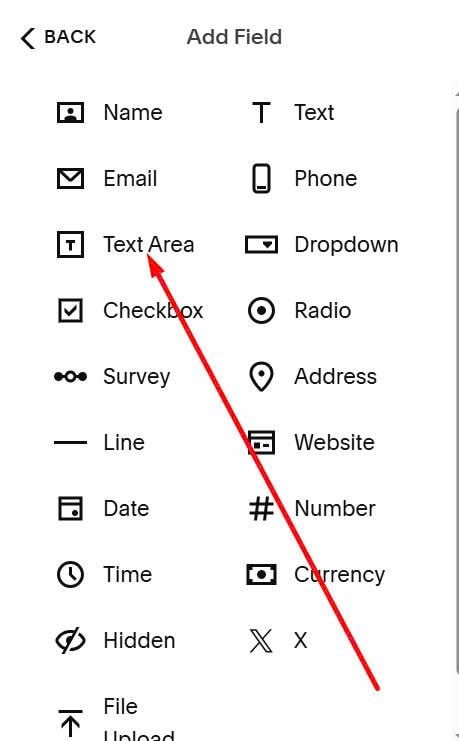
#5. Add your desired fields, then add a Text Area field to top of Form
#6. Enter Label + Description
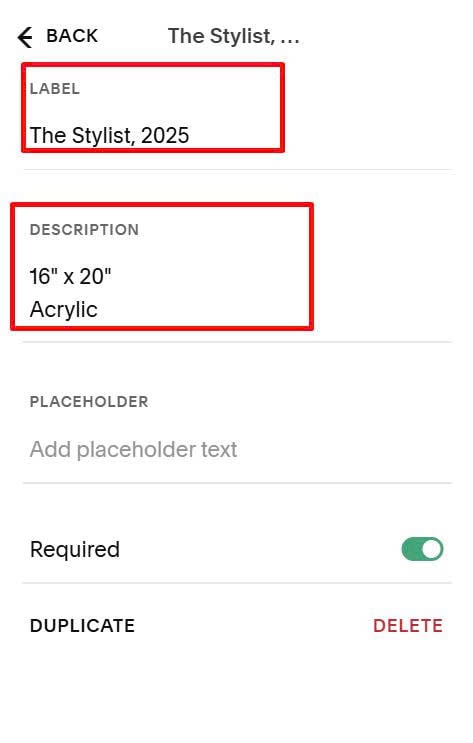
It will appear like this.
#7. Enable Lightbox option
#8. Add a Gallery Block Grid under Form
(You can skip this step if page has already Gallery Block with images)
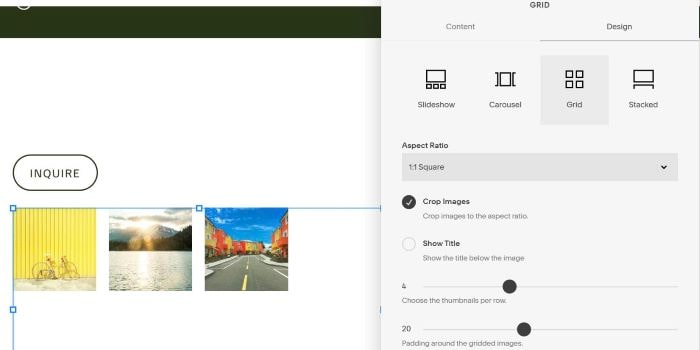
#9. Result
Code will get First Image in Gallery Block and add to Text Area in top of Form Block
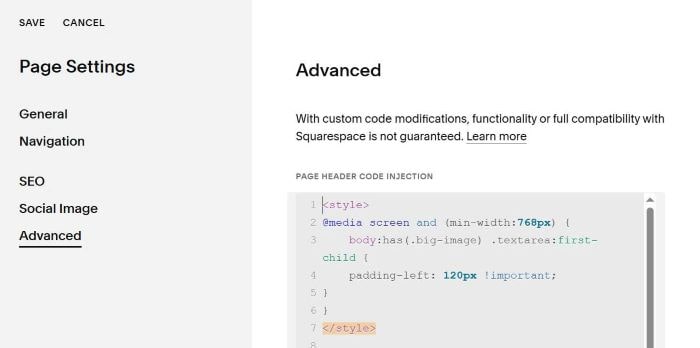
#10. If each page, use a different image size, you will need to adjust space a bit, by using this code to Page Header Injection
<style>
@media screen and (min-width:768px) {
    body:has(.big-image) .textarea:first-child {
    padding-left: 120px !important;
}
}
</style>
Result